A number of different architectural visualization companies have emerged in recent years, and many people are now using 3D rendering services to enhance their business.
This article will provide you with a brief introduction to the world of 3D rendering as well as some tips to help you get started with your own projects.
It is important that before starting any project you find out what type of images or videos it entails since not all architectural visualization service providers offer the same range of products.
You may be interested in animated fly-throughs or interactive tours for example instead of still renderings.
Some companies also specialize in large format prints while others focus on web design and online distribution platforms such as Youtube and Vimeo.
If you want to learn more about this topic then continue
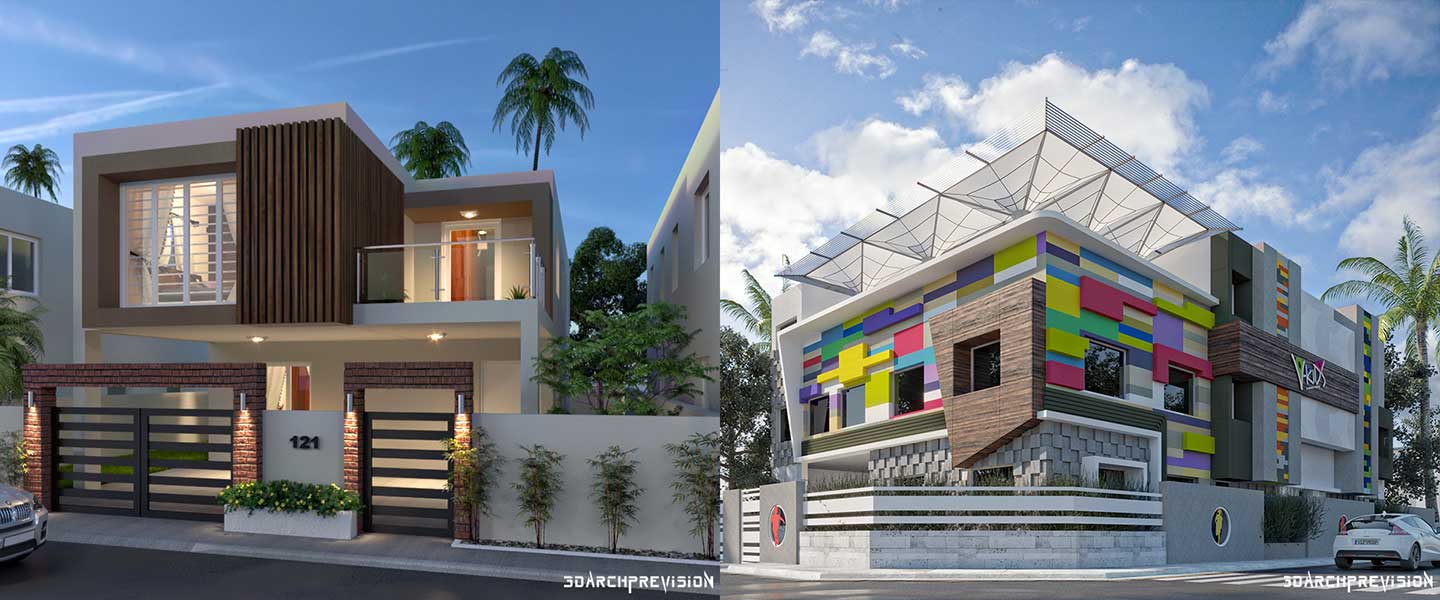
Nowadays, 3D visualization of architectural designs is becoming more and more important.
People are realizing that images say much more than a thousand words.
People buy houses not just because they like their design on paper but because they can imagine themselves living in it.
The same goes for small articles – you chose to buy a product if you could see how it will look on your shelf or in your home/office space, right?
You can get your project to look closer to how it would be in real life if you make a 3d visualisations.
No matter what is the main purpose of your images: marketing, PR, or presentation – 3D rendering services will help you carry out all these tasks more easily and with higher efficiency.
There are many ways of making architectural renderings/3D visualizations for your purposes but before getting down to the actual work, here are some tips to consider according to Renderforest.
Think outside the box-outside the screen
Your renderings should give the customer an idea of what he could expect even before he has seen them!
You can do this by suggesting certain parts of the interior space that customers will see when they enter it or by showing them objects they could find inside.
This is the key to making your future clients believe in your project.
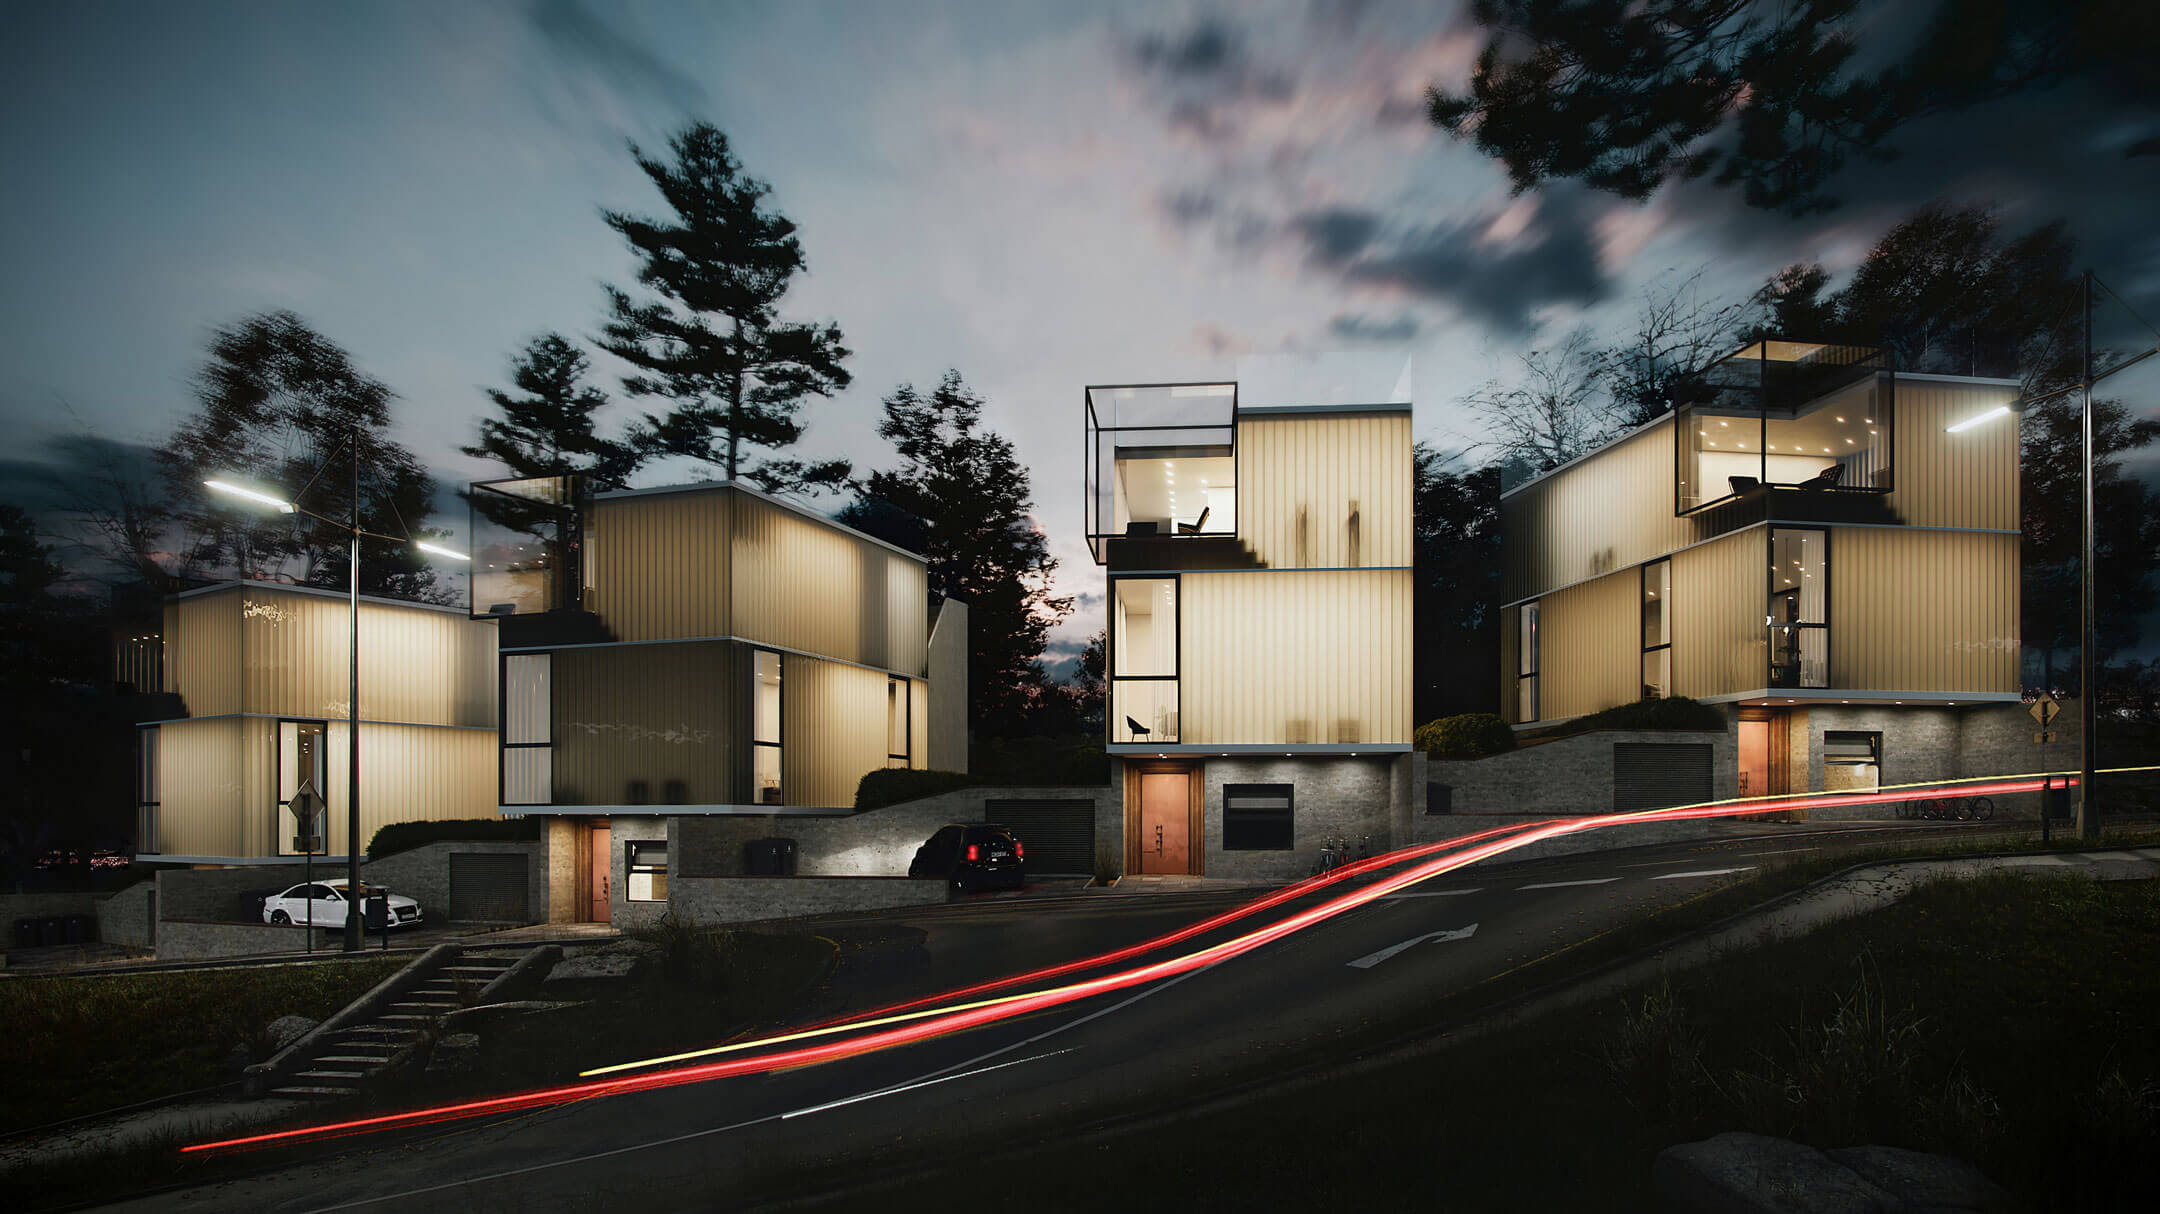
Render it real
People are not used to seeing images that look unreal – so try to avoid this pitfall.
Ground all of your images in reality by adding shadows, reflections, and other small details that will give the impression of a ‘photograph’ rather than a virtual image.
The more realistic are your images the more likely it is for people to start seeing them as almost real photography instead of 3D renderings.
Use video backgrounds wisely
For example, you can show how an interior would be filled with furniture even though these items aren’t available at the being.
People have seen videos and moving backgrounds so they will not be taken aback by this and will not even question the presence of the objects in your images.
Keep it simple
Including too many details can make people think that you want to ‘hide’ something from them or confuse them with unnecessary information.
Remember, you are providing a service and aiming to make your client satisfied – not confuse him or make him wonder why you have added something there.
If needed, stick to 2-3 colors per image if this helps simplify things for your customers.
Every room needs a good composition
Do not let yourself get carried away by the excitement of creating endless combinations of furniture pieces and other items – keep in mind that every room should have a focal point!
In addition, this focal point should not only be the bed or another item that you want to highlight – but it could also be an open window, a wall picture, or anything else that will attract the customer’s attention.
Do not forget about shadows!
Playing with light is one of the easiest ways to make your images look more realistic.
However, you should use this method carefully as shadows can be used both for decorating and for hiding objects.
Shadows are great when used in interior renderings since they help create depth and enhance contours.
Keep in mind, though, that every item around which there is shadow should ‘interact’ with it (for example by creating small details like casted shadows) – otherwise they may look strange and even distract people from the main focus of the image.
Remember about details and small things
A well-illustrated, detailed render will help you convince your customers that you care about every detail – even when it comes to something as tiny as a book or postcard on a table.
Of course, you should not overdo this and add too many such details (otherwise they may distract people) – but if there is an opportunity to make one of your images look more realistic by adding some small objects in front of the viewer’s eyes, seize it!
This will give them the impression that you take all aspects of creating an image very seriously and it will only work in your favor in their estimation.
Be in touch with technology and trends within 3D rendering
Keep an eye on what is trending and look at the work of other 3D artists.
This way you will be well-aware of new opportunities and will be able to use them in your own projects, thus creating images that are more appealing than those made by other artists working with the same rendering software as you do.
You can also show people how enthusiastic about this field you are (and your customers may even appreciate having a reference to technology in their homes).
Creativity counts
Keeping it simple doesn’t mean that you should not add any creative touches to your images!
The best tip we can give here is: experiment and play around with different colors and shapes until something clicks in your imagination and comes up in front of your eyes.
This is the most simple and powerful form of 3D visualization – a process that consists of visualizing your imagination’s best ideas.
Don’t forget about the composition!
While creating virtual renderings, keep in mind that every room should have a focal point where all other objects will be arranged around.
If you don’t know how to create such a focal point yourself, just remember that it can be anything from an open window or a wall picture to pieces of furniture or even light shadows if used carefully.
Try doing different combinations with pieces of furniture until you find what you are looking for.
Once you have figured out where each item should be placed in a given space, make sure everything fits together by testing their dimensions and placing them next to one.
So people rely heavily on exterior and interior renders when it comes to buying property or choosing an article.
This gives us the amazing opportunity to make our designs stand out from the crowd!
3D visualization company called Archiform created this infographic to help you start with creating stunning 3D visualizations for all types of projects.
I personally think that you should try to get into creating these 3D images even if you are just starting!
Remember, people love images. 🙂